

Activate DNS hosting
Order the DNS hosting service through the control panel to start managing domain records.- In the list of services, click DNS hosting and then click Order.
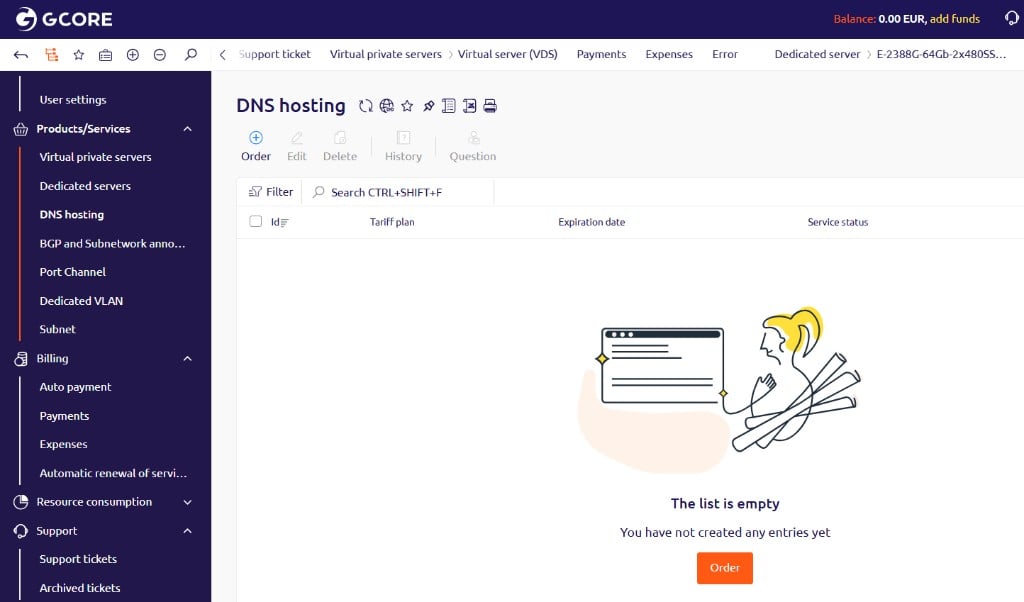
- In the window that opens, click Order.
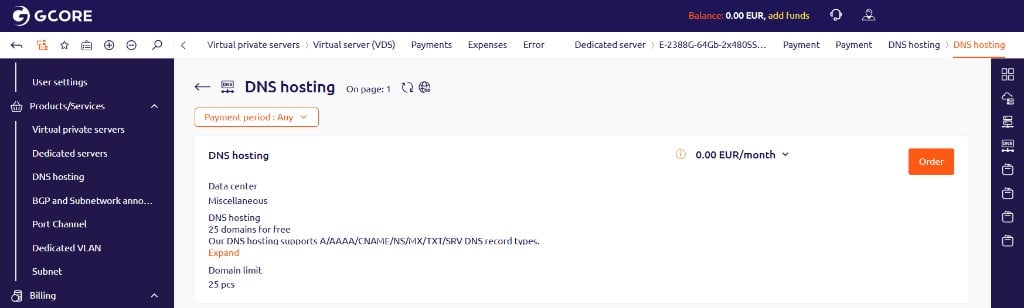
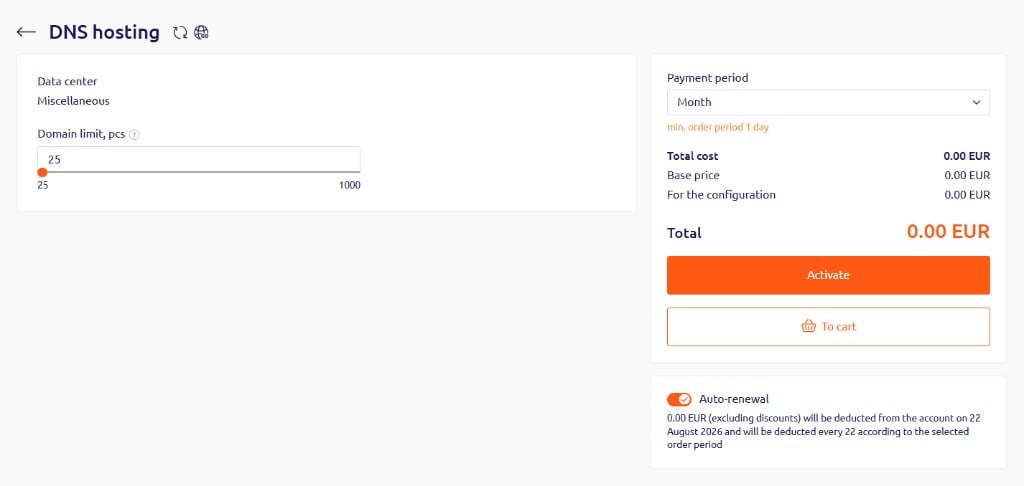
- Configure the service parameters and click Activate:
- Domain limit: Set the number of domains to manage. Default is 25.
- Payment period: Select the billing cycle.
- Auto-renewal: Enable to automatically renew the service.
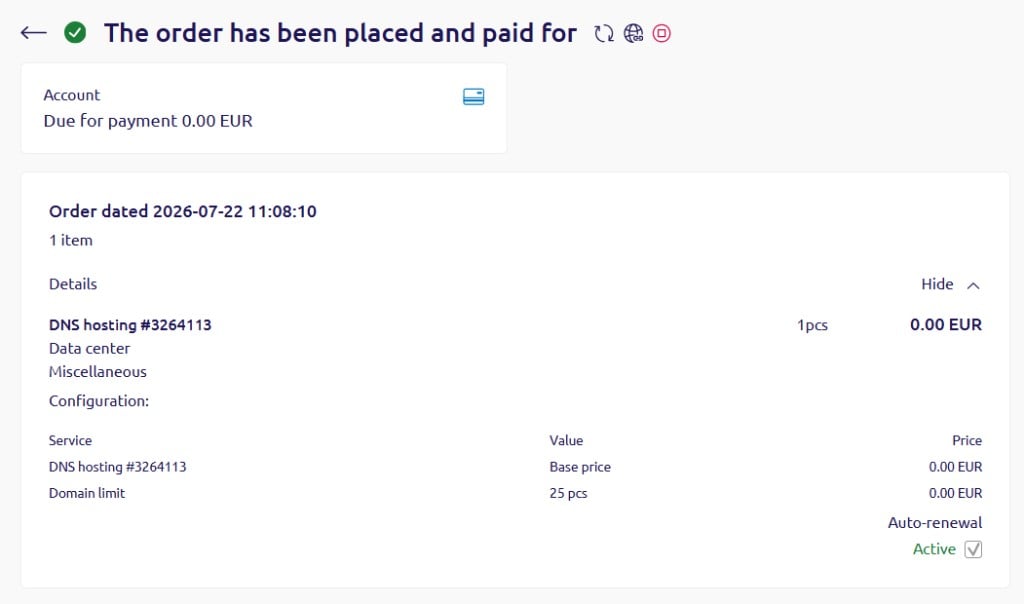
Set up DNS hosting
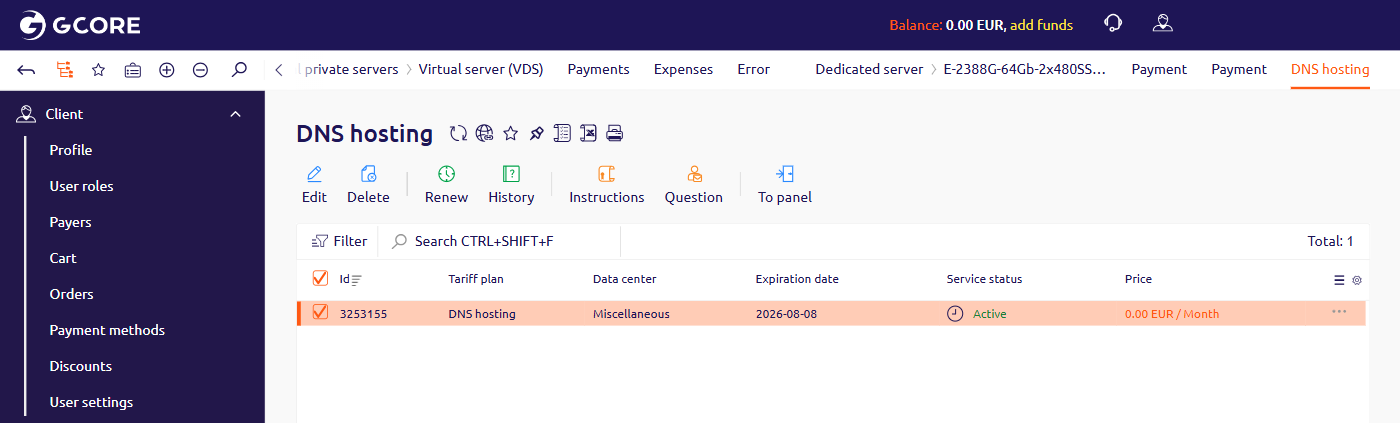
Configure the default DNS settings that apply to all domains added to the service.- Navigate to the DNS hosting service section, check the checkbox next to the relevant service, and then click To panel. The DNS hosting control panel opens.
- In the control panel, navigate to Settings > DNS settings.
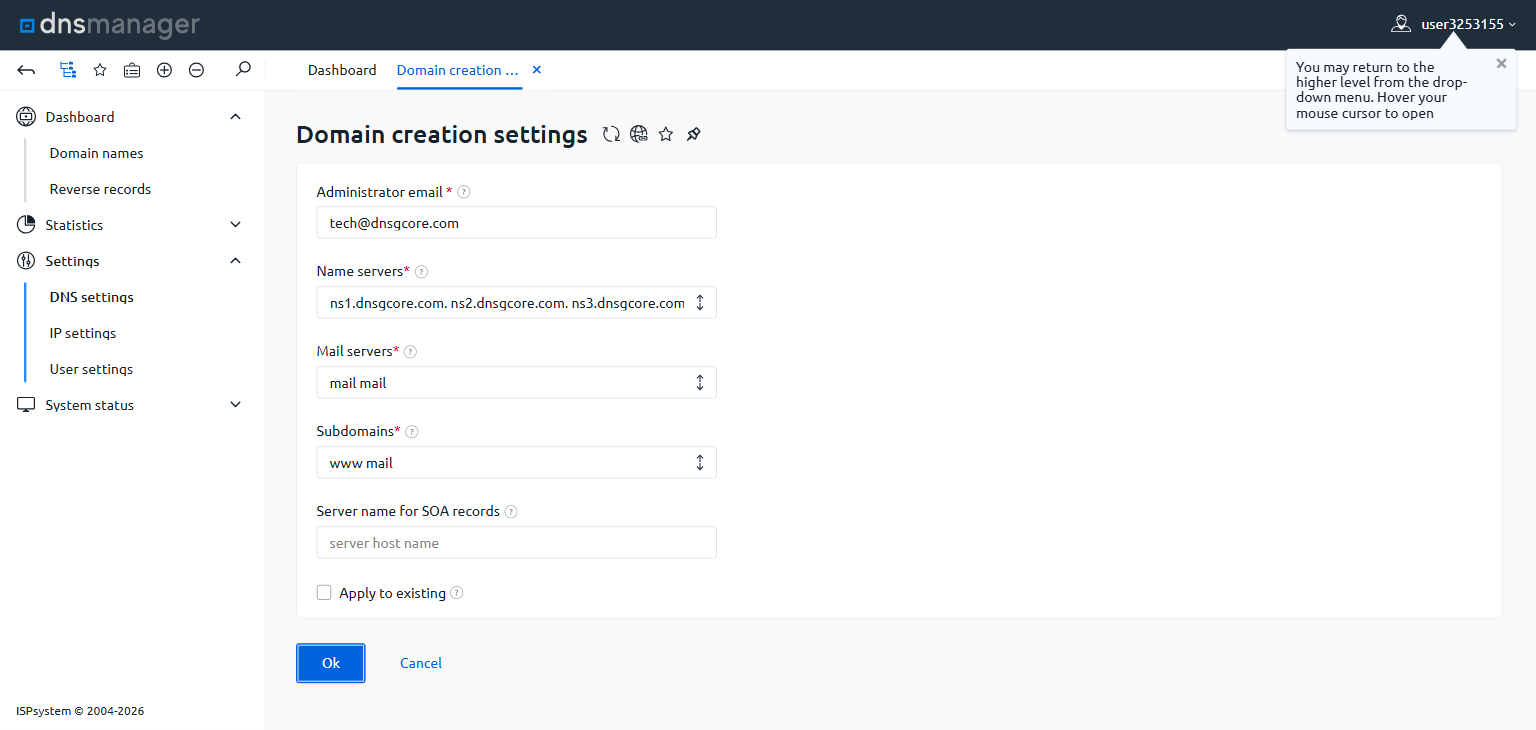
- Provide the following settings:
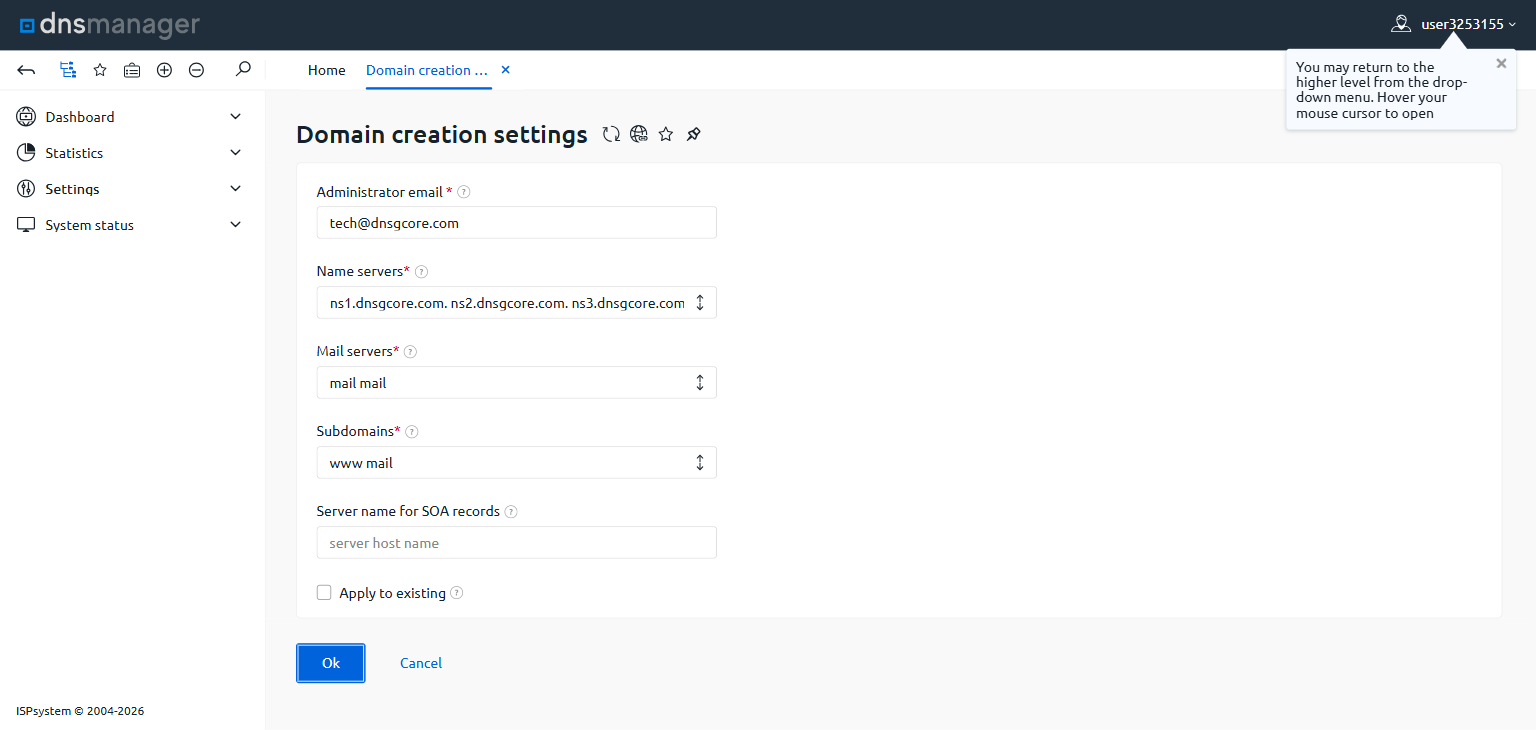
- Click OK to apply the settings.
Manage domains
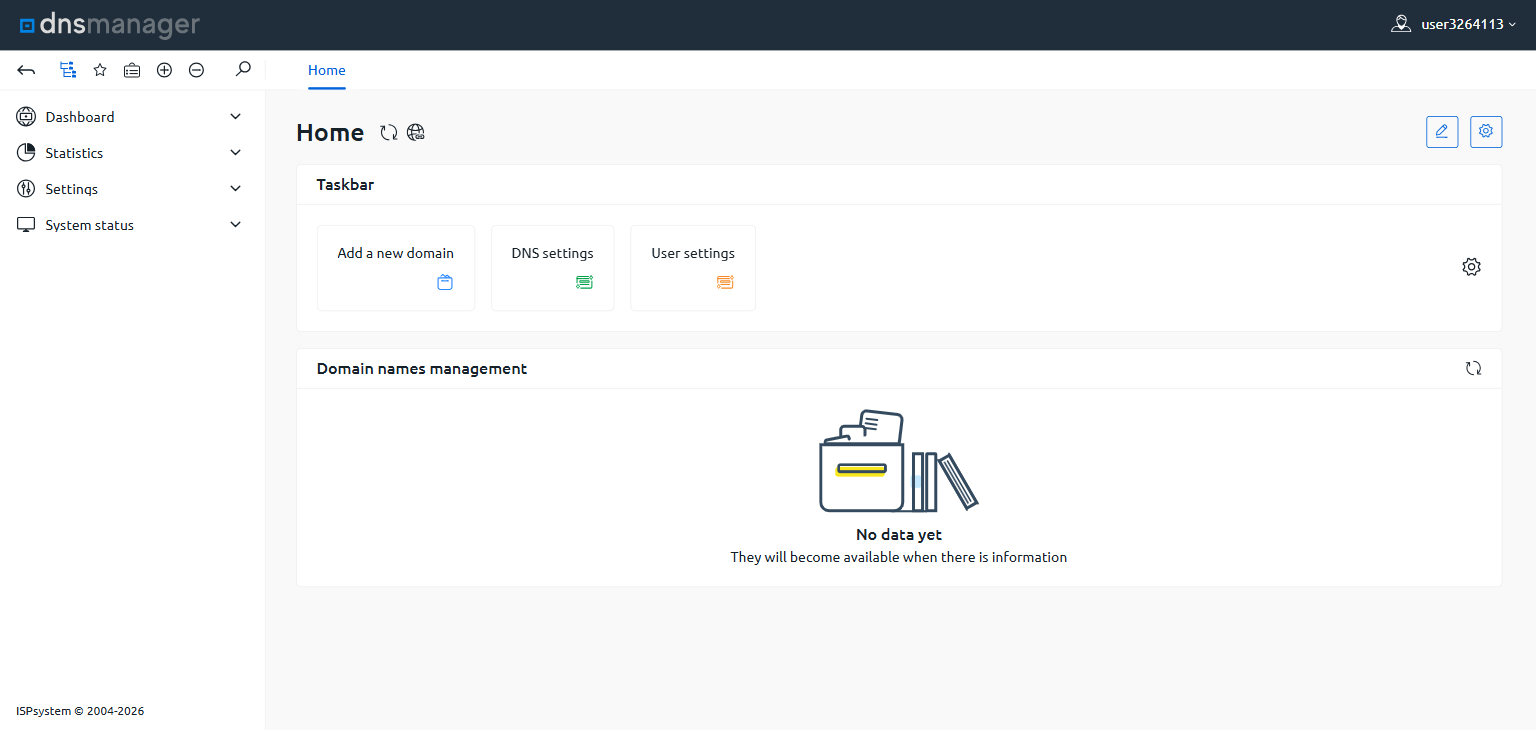
In the DNS hosting control panel, add and configure the domains to manage.- Click Add a new domain.
- Specify the domain to manage along with the associated settings.
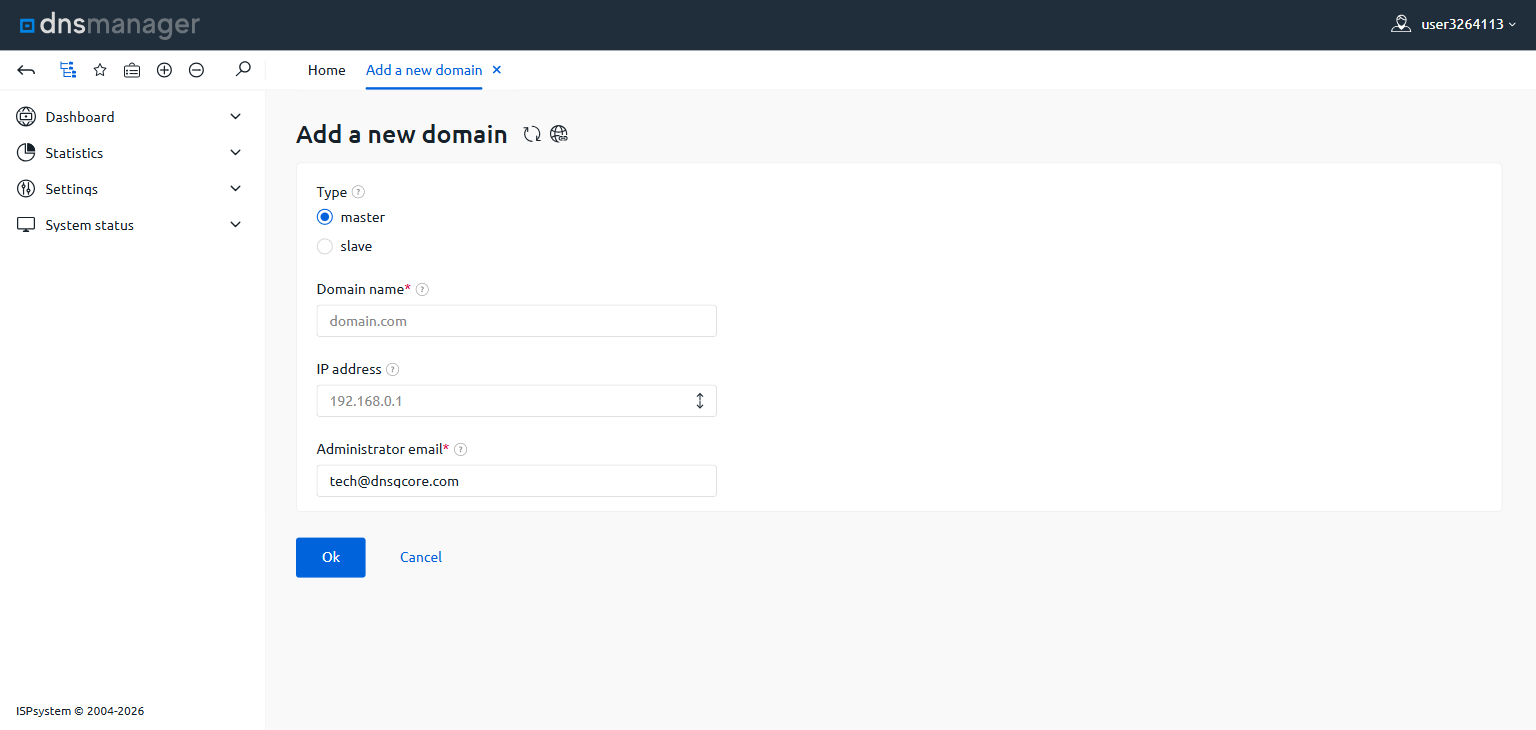
- Click OK.
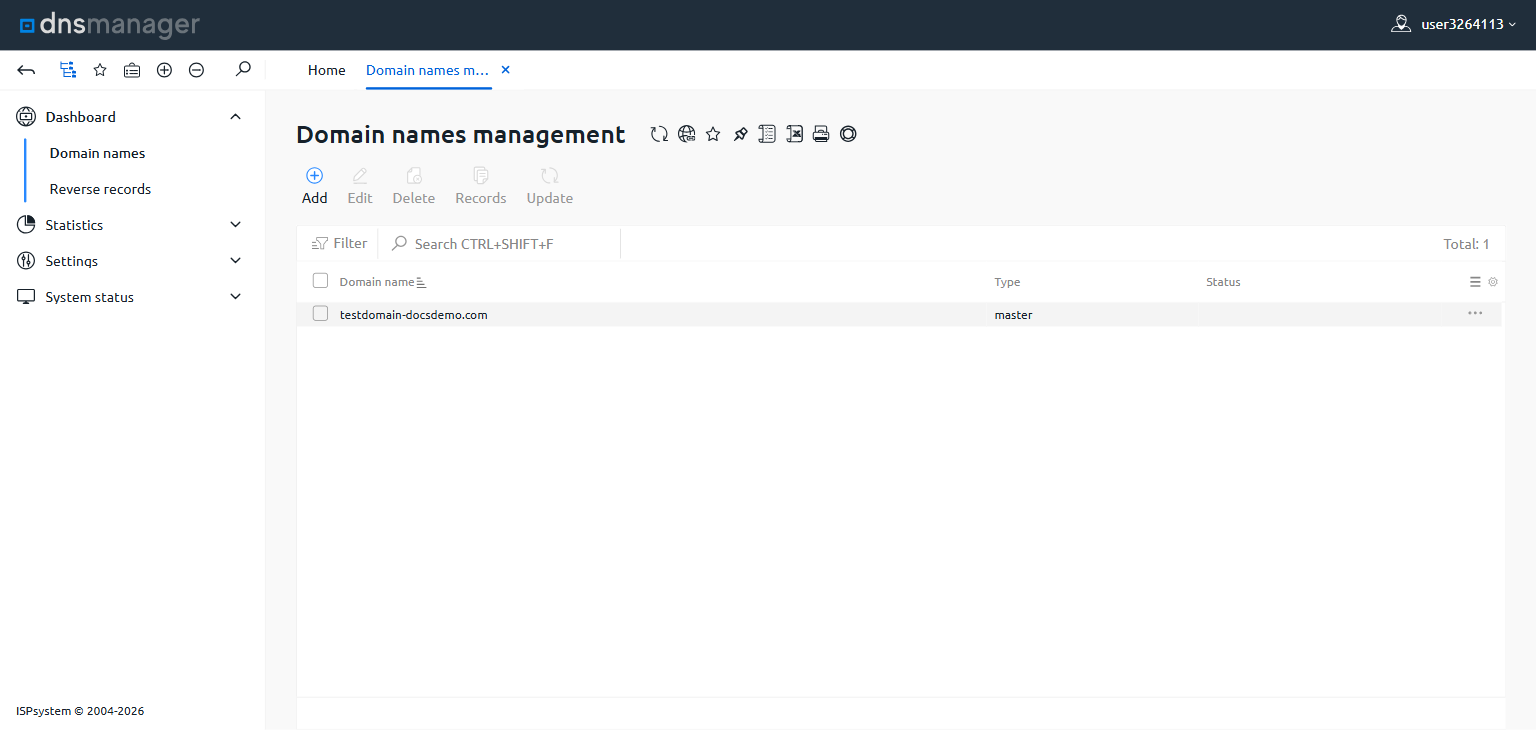
Manage DNS records
Configure individual DNS records for each managed domain.- In the DNS hosting control panel, navigate to Dashboard > Domain names. Check the checkbox next to the domain for which to set records. Then, click Records.
- The DNS records for the selected domain appear. Click Add to add a new record.
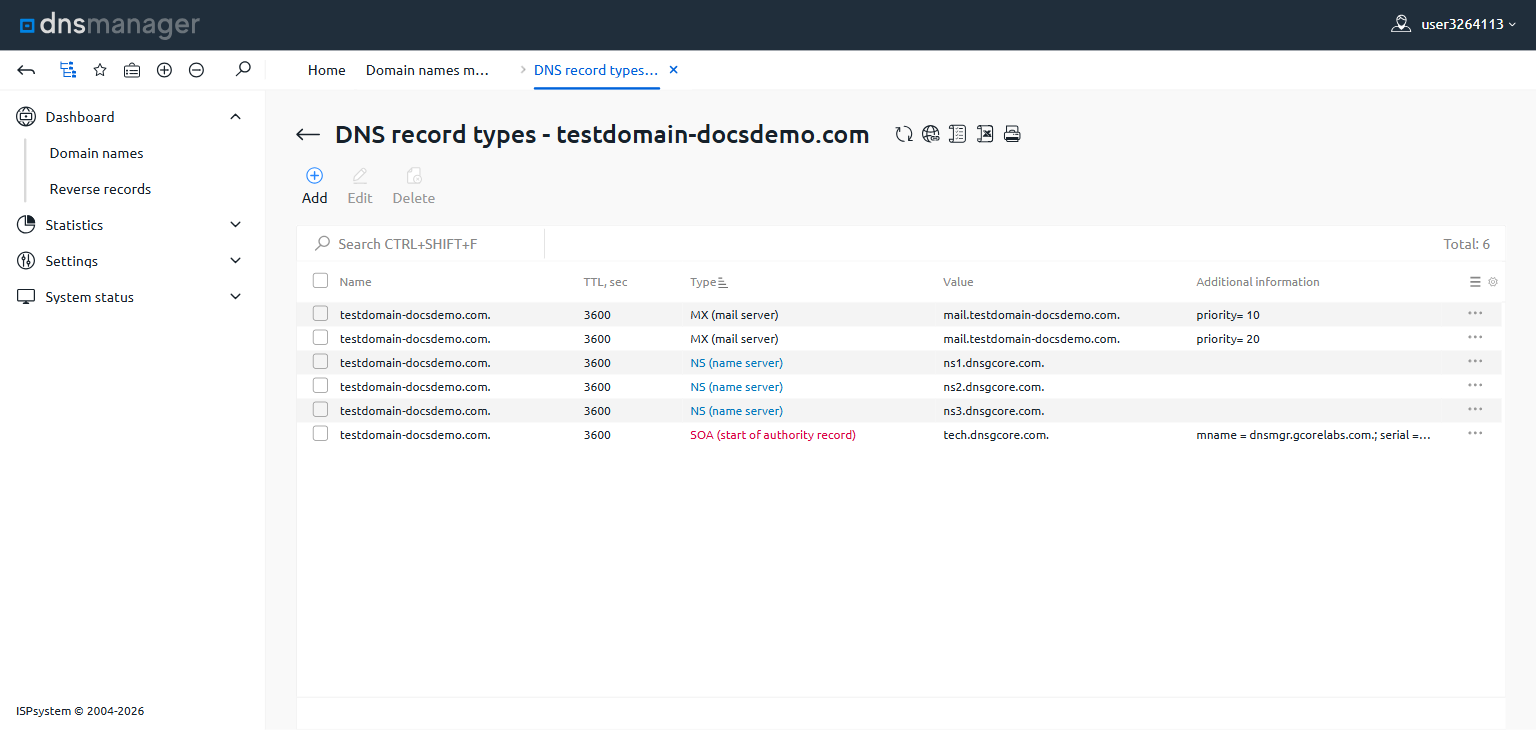
- Configure the new record:
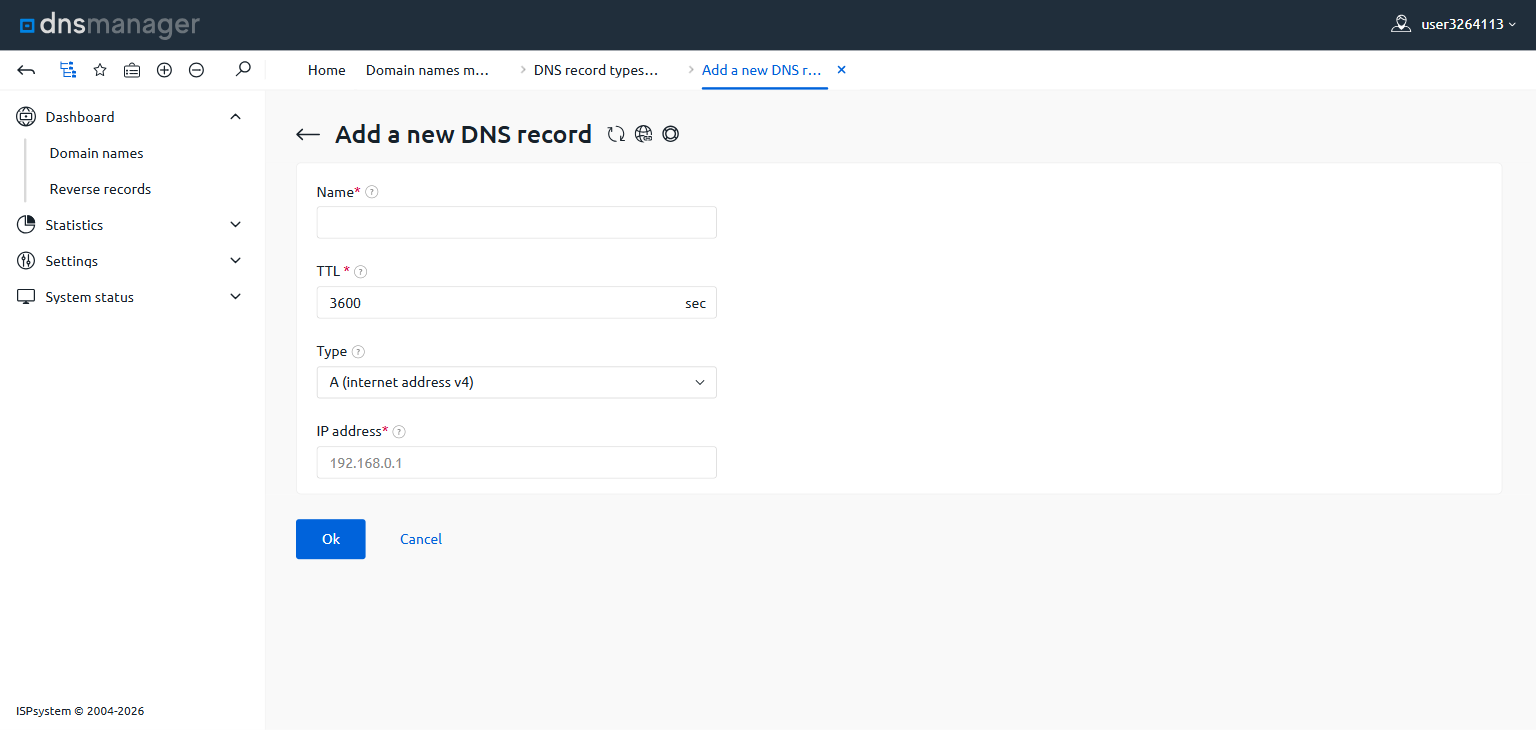
- Click OK.