

Enable two-factor authentication
The setup dialog accepts Google Authenticator or Microsoft Authenticator.1
Open My profile
In the Gcore Customer Portal, click the avatar in the top-right corner and select Profile.
2
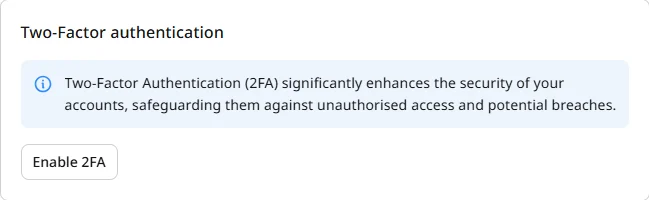
Click Enable 2FA
3
4
Scan the QR-code
In the authenticator app, scan the code shown under Scan the QR-code.
5
Enter the code and click Check
Enter the six-digit code from the app and click Check.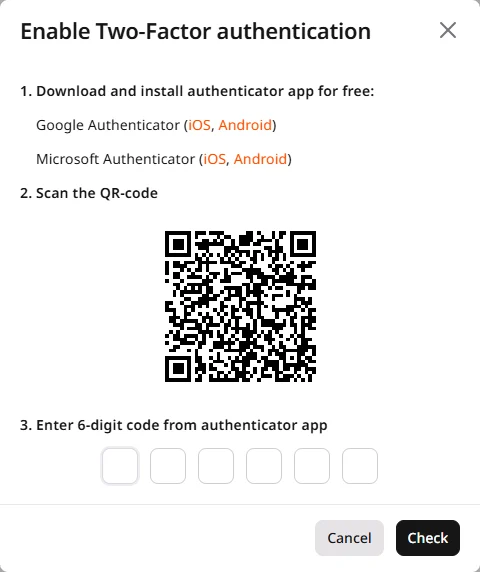
Troubleshooting authenticator apps
Troubleshooting authenticator apps
If Check rejects a code, check the following.
Check time synchronization
2FA needs the authenticator app and the login device to share the same time. If a correct code is rejected, confirm the date and time and turn on network time synchronization on the login device.Check device configuration
If the authenticator app was moved to a new device, confirm that it is set up on that device.Generate backup verification codes
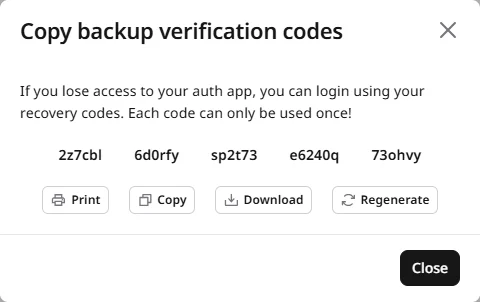
After 2FA is active, the Two-Factor authentication section shows an Enabled badge, Disable 2FA, and Generate backup code. Backup codes sign the user in when the authenticator app is unavailable. To generate codes, click the avatar in the top-right corner, select Profile, and on My profile click Generate backup code.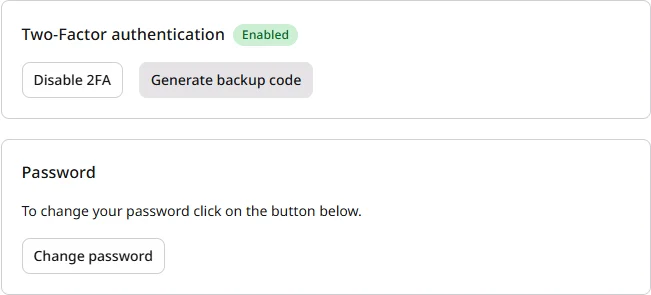
Log in with two-factor authentication
With 2FA active, the login page asks for an authenticator code after the password.1
Enter the email and password
On the login page, enter the email address and password, then click Log in.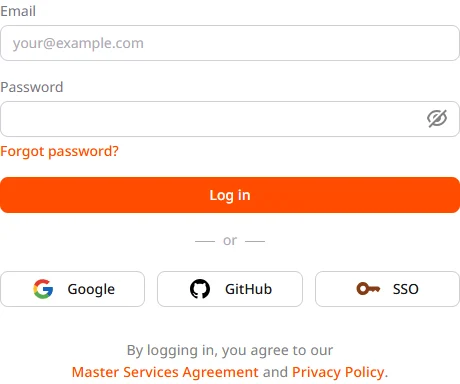
2
Enter the verification code
On Enter authenticator passcode, enter the code from the authenticator app in Verification code, or a backup code, then click Log in.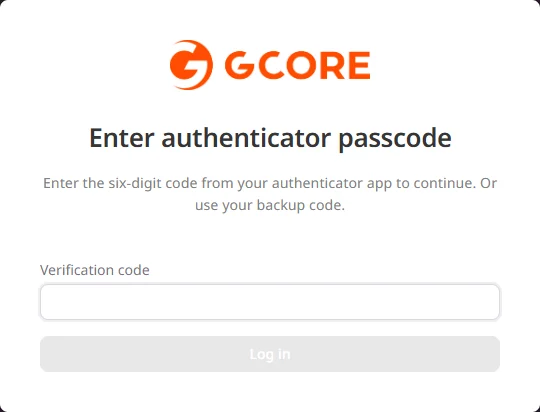
Disable two-factor authentication
Disabling 2FA sends a confirmation link to the email address on the account.1
Open My profile
In the Customer Portal, click the avatar in the top-right corner and select Profile.
2
Click Disable 2FA
In the Two-Factor authentication section, click Disable 2FA.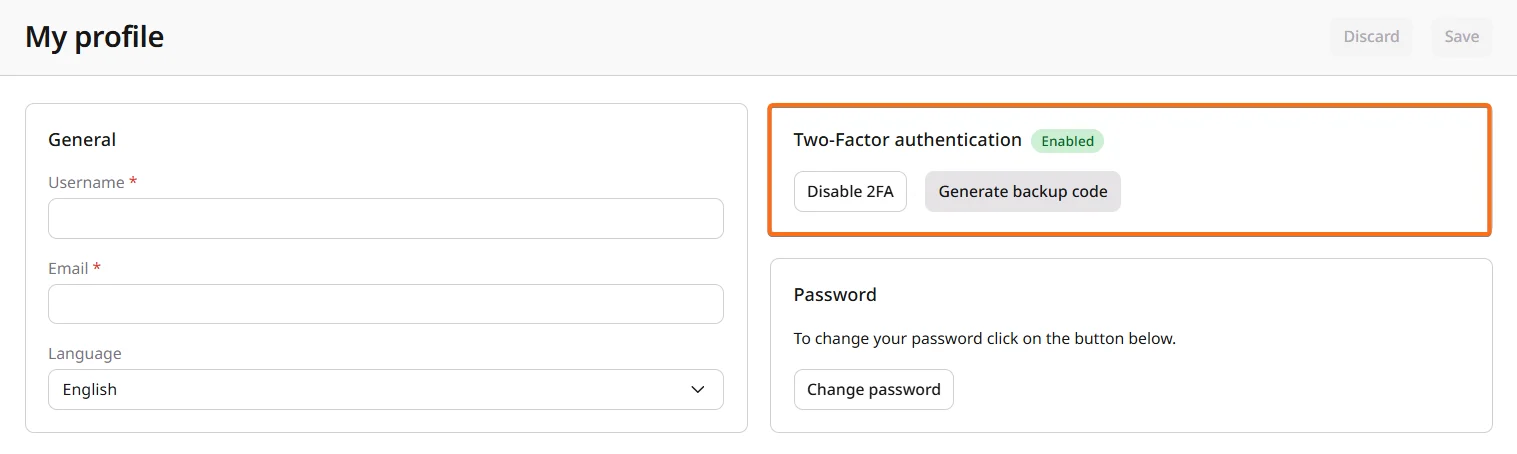
3
Confirm the dialog
In the confirmation dialog, click Confirm. A confirmation link is sent to the email address on the account. The address is masked in the dialog.
4
Open the confirmation link
Open the email and click the confirmation link.