

General CDN settings
Opening a customer’s CDN settings starts from the account settings:1
Open the Accounts section
Find the customer.
2
Open the customer's settings
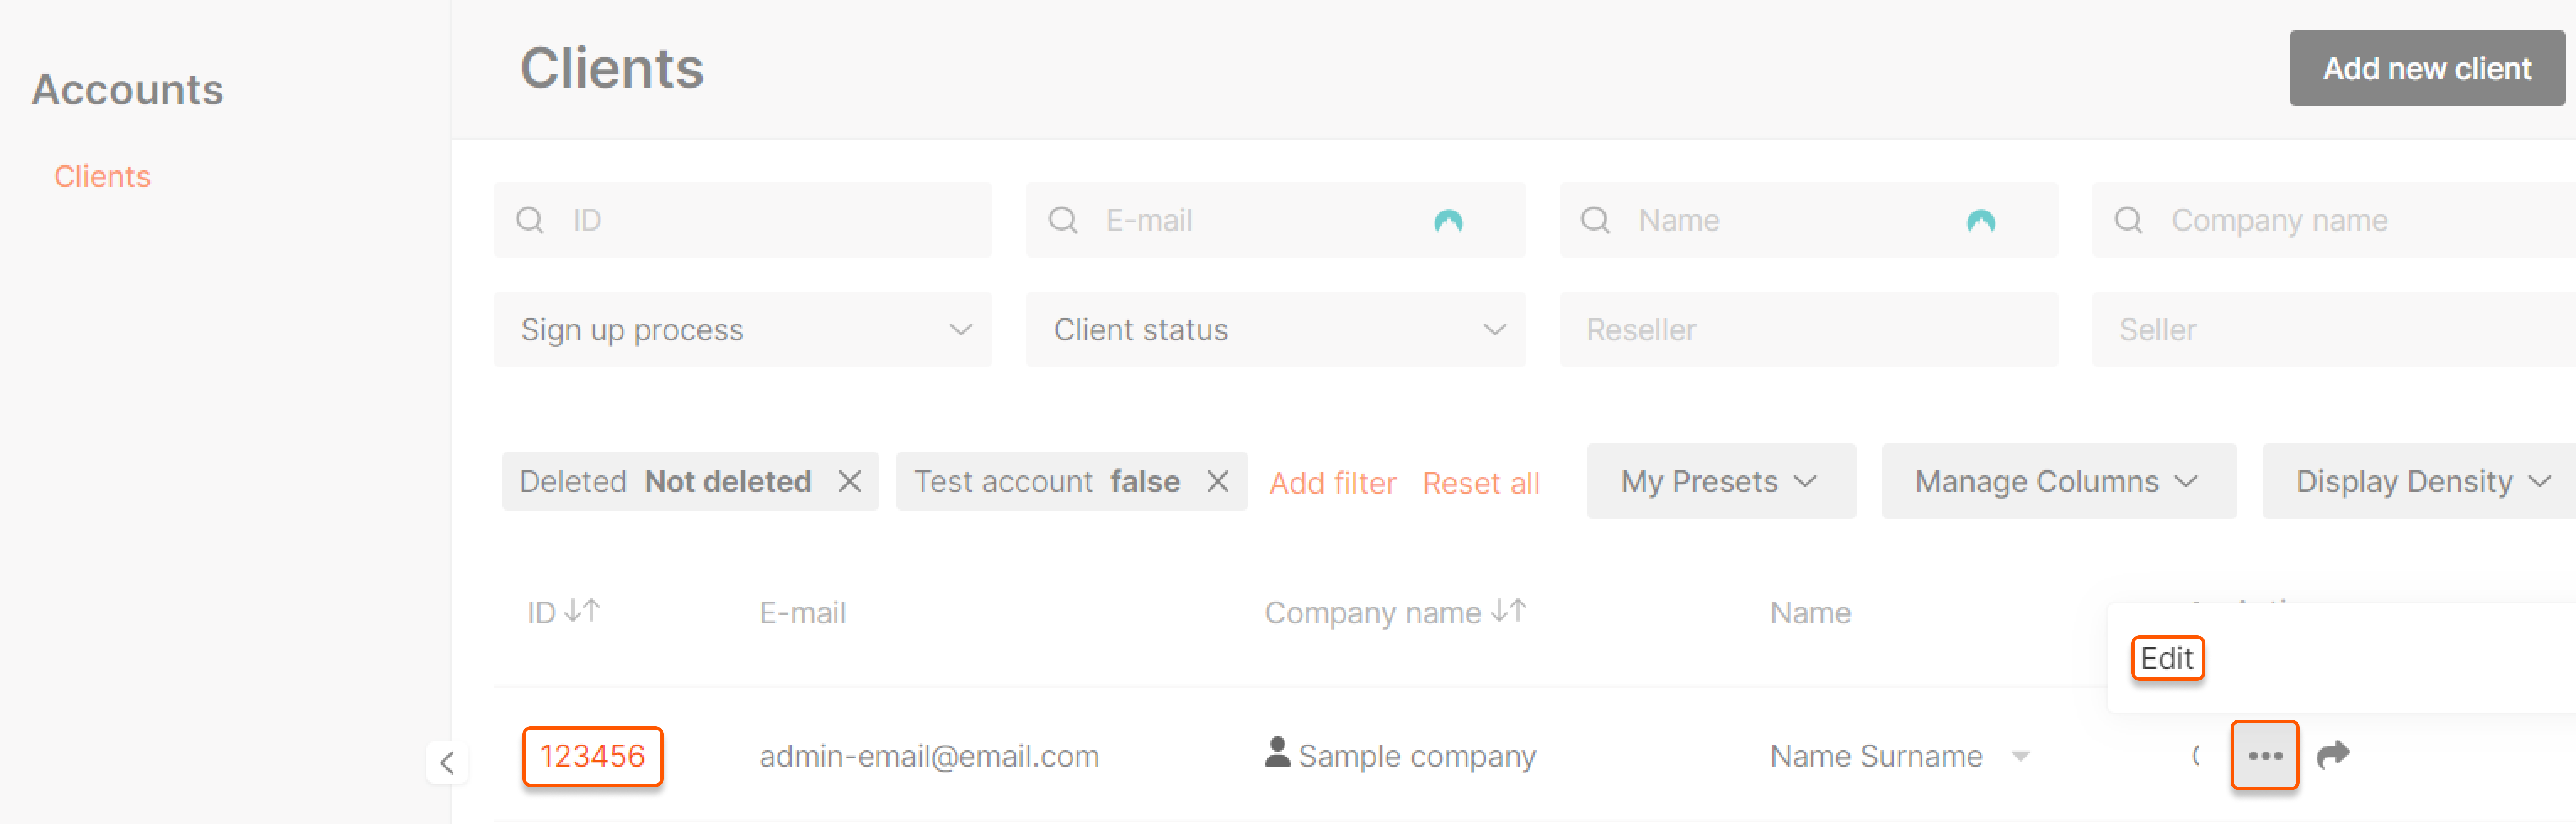
Click the customer’s ID, or click the three-dot icon and select Edit.
Manage general settings
The customer’s settings page covers the Products and Features tabs.
Activate CDN
1
Open the Products page
2
Open the product settings
Click Show more.
3
Activate the product
Select the Activate product checkbox to let the customer create and manage CDN resources; clearing it instead shows the customer a product activation request form on the CDN tab.
4
Save changes
Click Save changes to apply.
Clearing the Activate product checkbox may suspend active resources.
Transition to deleted status
The Paused to Deleted and TrialEnd to Deleted fields on the Products page set how many days pass before the CDN product status switches to Deleted from each state; reaching Deleted status deletes the customer’s CDN resources. The Deleted status date field shows when this happened and isn’t editable directly.Free and paid features
Click CDN settings to see the list of available features.
1
Open the customer list
In the CDN section, open the customer list.
2
Open the customer's settings
Click the customer’s ID, or click the three-dot icon and select Edit.
3
Open the Features tab
Navigate to the Features tab.


Balancer
Geobalancer groups CDN servers into North America, CIS, Australia, Middle East, Africa, Europe, Asia, Latin America, and World. Selecting World uses anycast addressing, so content is served from whichever region delivers it most efficiently at that moment.
Set traffic balancer
Traffic balancer routing is disabled by default. Enabling it allows regions to be excluded from delivery when no end users are located there:1
Enable the balancer
Click Enable traffic balancer.
2
Select IP delivery
Check the Enable IPv6 delivery checkbox to include IPv6 addresses in responses (AAAA record), or clear it to use only IPv4 addresses (A record).
3
Exclude regions
Clear the checkboxes for regions to exclude from delivery.
4
Save changes
Click Save changes.
